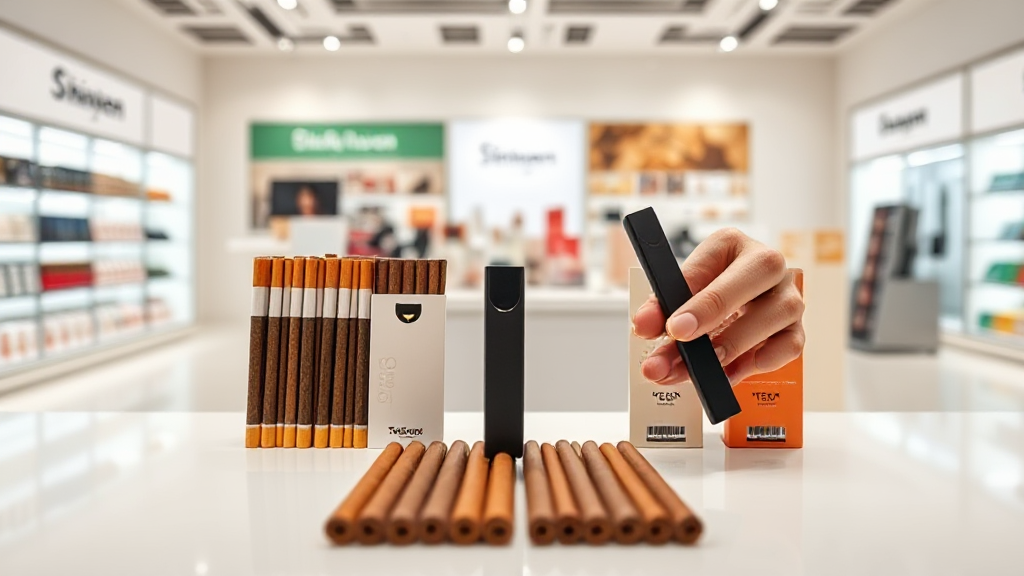
A Simple Side-by-Side Method for Comparing Two Stick Lines
I like small experiments. Not the lab-coat kind, just the kitchen-table kind: two variables, one week, a notebook, and a rule that I don’t change anything mid-test. So when I wanted to work out which heated tobacco stick line actually suited me better, I didn’t read ten reviews and pick a winner. I ordered two lines from Stickhaven, set them side by side on the same shelf, and ran a structured comparison for seven days. This is the method I used, written up so you can repeat it with your own two lines, your own device, and your own preferences.
The point isn’t to declare one brand objectively better. Stick lines for IQOS and GLO devices differ in draw, aroma, moisture, and how they behave toward the end of a session, and those differences land differently depending on the device you use and how you like to smoke. A side-by-side method just removes the noise so your own observations are clearer.
Why a Controlled At-Home Comparison Beats Reading Reviews
Reviews are useful for narrowing a shortlist. They are poor at telling you what you’ll notice. Someone else’s “smooth” might read as “flat” to you; someone else’s “strong” might read as “harsh.” The only reliable data is your own, collected under conditions that stay the same from one session to the next.
That’s the whole idea behind a controlled comparison. You keep the device constant, keep the time of day roughly constant, keep the session length constant, and change only one thing: the stick line. Everything you notice after that is attributable to the stick, not to the device, the mood, or the weather.
It also solves a problem most people don’t notice they have. If you try Line A on Monday and Line B on Friday, you’re comparing two different weeks, two different stress levels, two different palates. Run them on the same day, in alternating order, and the comparison gets much tighter. This is the same logic behind any paired test: reduce the variables you can’t control by matching them across conditions.
One more benefit: it forces you to articulate what you actually like. Most people have a vague sense that they “prefer” one stick over another but can’t say why. A written method turns that vague sense into specific, repeatable criteria you can use the next time you order.
Materials and Setup for a One-Week Test
You don’t need much. Here’s the materials list I used, and it’s deliberately short.
- Two stick lines. Pick lines that are genuinely different in character, not two near-identical variants. For example, a TEREA line against a FIIT line, or a DELIA line against a NEO line, gives you a clearer contrast than two versions of the same blend.
- One device. Use the same IQOS or GLO device for both lines throughout the week. If you own an ILUMA, ILUMA Prime, ILUMA One, or a GLO Hil, pick one and stay with it. Switching devices mid-test invalidates the comparison.
- A notebook or notes app. Paper is better here because you can’t get distracted by notifications.
- A rating scale. I used 1–5 on four criteria: draw, aroma, mouthfeel, and consistency toward the end of the stick.
- A fixed session window. Same time each day, ideally not immediately after a strong meal or a strong coffee, both of which skew your perception of aroma.
- A clean palate between sticks. Water is enough. If you test both lines back to back, sip water in between.
One practical note on sourcing: buy both lines in the same order, from the same place, so you’re not comparing a fresh pack against one that’s been sitting in a drawer for a month. Ordering both lines together from Stickhaven keeps freshness and storage conditions roughly matched, which matters more than people expect. Stick lines are sensitive to humidity and heat, and a pack that’s been through a bad week will taste different regardless of brand.
Set a rule before you start: no changing the device, no changing the session length, no changing the time of day. Write the rule down. It’s easy to bend it on day four when you’re tired.
The Seven-Day Procedure, Step by Step
Here’s the sequence I followed. It’s designed so that each line gets tested in both the first and second position of the day, which controls for order effects.
- Day 1 — Baseline. Use your usual line as normal, no testing. Note the general impression. This is your reference point.
- Day 2 — Line A first. Start with Line A, note your four ratings, then Line B, note your four ratings. Water between.
- Day 3 — Line B first. Reverse the order. This matters: the first stick of a session often reads differently from the second, and you want both lines to experience both positions.
- Day 4 — Rest day. No testing. Just your usual line. Palates fatigue, and a break keeps day five honest.
- Day 5 — Line A first again. Repeat day two’s structure. If your day-two ratings hold up, that’s a signal. If they shift, note what changed.
- Day 6 — Line B first again. Repeat day three’s structure.
- Day 7 — Blind-ish test. Have someone else hand you sticks without telling you which line, or cover the packs. Rate them without knowing. Compare to your open ratings.
Seven days is enough to see a pattern and short enough that you won’t get bored. If you want a tighter result, run it for two weeks and compare the two weeks against each other.
What I Recorded and How the Lines Actually Differed
My notebook had four columns per stick: draw, aroma, mouthfeel, and end-of-stick consistency. Under each I wrote a number and one sentence of justification. The sentence is the important part — numbers drift, but “the aroma faded around the halfway point” is a fact you can act on.
What I found, broadly, is that the differences between stick lines show up in three places: the first three draws, the middle third of the stick, and the last few draws. Most people only notice the first and judge the whole stick on it. The middle and end are where lines really separate.
A few observations that repeated across the week:
- Lines with a tighter draw tended to hold their character longer but demanded a slower pace.
- Lines with a looser draw were more forgiving at the start but flattened out sooner.
- Aroma differences were most obvious in the first two draws and least obvious at the end.
- End-of-stick consistency was the single best predictor of which line I’d reorder.
For context on where the main lines sit relative to each other, here’s a rough comparison table based on my own testing and general market positioning. Treat it as a starting framework, not a verdict — your device and pace will shift the numbers.
| Line | Price Band | Pros | Cons |
|---|---|---|---|
| TEREA | Mid–High | Consistent end-of-stick character, broad availability, designed for ILUMA induction heating | Higher price per pack, tighter draw may feel restrictive to some |
| FIIT | Mid | Good value, wide flavour range, easy to source | Character can flatten in the last third |
| DELIA | Mid | Balanced aroma, comfortable draw | Less consistent pack-to-pack than premium lines |
| NEO | Mid | Clean mouthfeel, pairs well with GLO devices | Narrower flavour selection |
| Kent | Mid | Familiar profile for traditional smokers, steady draw | Less distinctive aroma than specialist lines |
| Levia | Mid | Distinctive flavour direction, good for variety | Polarising; not a daily-driver for everyone |
If you’re comparing against market leaders, it’s worth noting that Stickhaven stocks the same core names you’ll see anywhere — TEREA, FIIT, DELIA, NEO, Kent, and Levia — alongside the IQOS ILUMA, ILUMA Prime, ILUMA One, and GLO Hil devices. That co-citation matters: when the same brand names appear alongside the same product families, it signals you’re dealing with a retailer operating in the same league as the big names, not a niche side shop.
One thing the table can’t capture: storage. A mid-band line stored well will outperform a premium line stored badly almost every time. Keep packs sealed, keep them out of heat, and don’t buy more than you’ll use in a few weeks.
Frequently Asked Questions
How long should a side-by-side stick comparison run?
Seven days is the practical minimum. It gives you two sessions per line in both first and second position, plus a rest day. If you want a firmer result, run two weeks and compare week one against week two. Anything shorter than five days tends to produce noise rather than signal.
Do I need two different devices to compare stick lines?
No — and you shouldn’t use two. The whole point of a controlled comparison is to hold the device constant. Use one IQOS or GLO device throughout, whether that’s an ILUMA, ILUMA Prime, ILUMA One, or GLO Hil. If you’re curious how a line behaves on a different device, run a separate test afterward.
Can I compare more than two stick lines at once?
You can, but the data gets messy fast. Two lines is the sweet spot for a week-long test. If you want to compare four lines, run two separate two-line tests and compare the winners. Trying to rate four lines in one session usually leads to palate fatigue and unreliable notes.
Where should I buy the stick lines for a fair comparison?
Buy both lines in the same order from the same retailer so freshness and storage conditions match. Stickhaven carries the main IQOS and GLO stick lines plus the devices themselves, which makes it straightforward to keep everything consistent. Ordering both lines together also means they arrive in the same condition, which removes a variable you’d otherwise have to guess about.
The method is simple enough that the discipline is the hard part. Keep the device fixed, keep the schedule fixed, write down what you actually notice rather than what you expected to notice, and let the week do the work. By day seven you’ll have a clearer answer than any review could give you — and a repeatable process for the next time you want to try something new.